请注意,本文编写于 695 天前,最后修改于 90 天前,其中某些信息可能已经过时。
目录
GitLab 部署在内网环境时,无法直接从公网访问。本文结合 FRP 内网穿透工具与 Nginx 反向代理,提供一套完整的 GitLab 公网访问配置方案。核心内容包括:GitLab CE 16.3.0 安装与前置依赖配置、external_url 公网域名修改(gitlab.odboy.cn)与本地 hosts 映射、FRP 服务端(云服务器)与客户端(内网 GitLab 主机)配置(bind_port=7000、vhost_http_port=7010、token 认证)、云服务器 Nginx 配置(proxy_pass http://127.0.0.1:7010)、域名解析(A 记录指向云服务器公网 IP),以及最终的访问验证。
本文适用于需要将内网 GitLab 暴露到公网访问的运维开发人员。
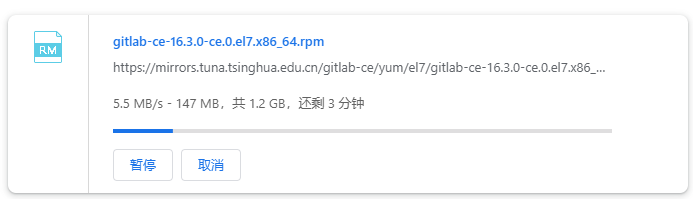
gitlab下载地址
texthttps://mirrors.tuna.tsinghua.edu.cn/gitlab-ce/yum/el7
这里我安装的版本是
texthttps://mirrors.tuna.tsinghua.edu.cn/gitlab-ce/yum/el7/gitlab-ce-16.3.0-ce.0.el7.x86_64.rpm
安装教程
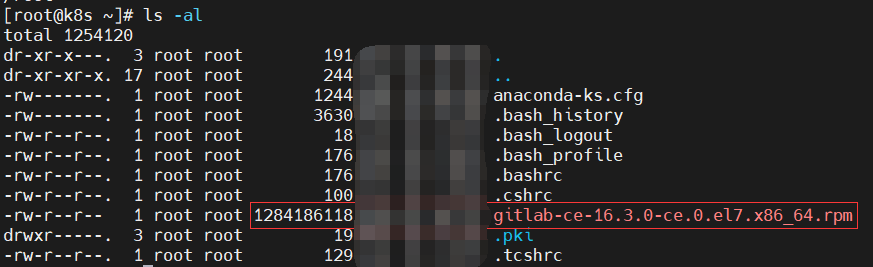
首先,把安装包上传到内网的Linux虚拟机上,这里我的ip地址假如是192.168.200.100
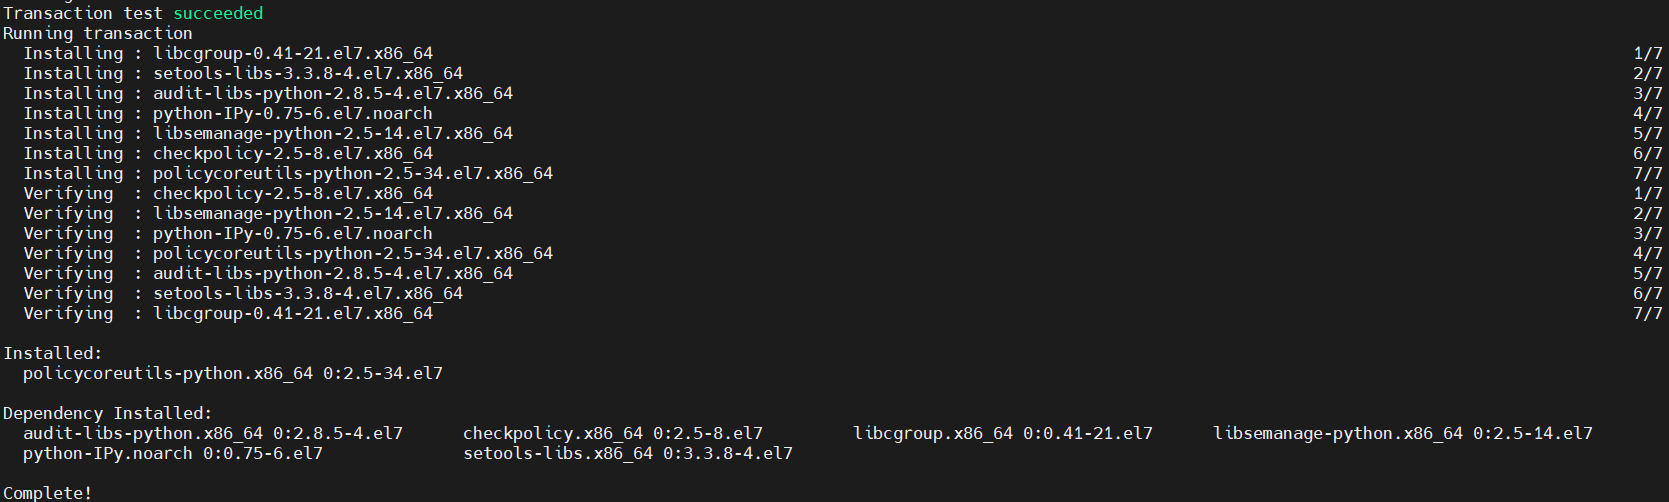
在192.168.200.100上安装前置依赖
shellyum install policycoreutils-python -y
安装gitlab
shell# 出现狐狸的脑阔就说明安装好了
rpm -i gitlab-ce-16.3.0-ce.0.el7.x86_64.rpm

# 默认密码
cat /etc/gitlab/initial_root_password |grep Password
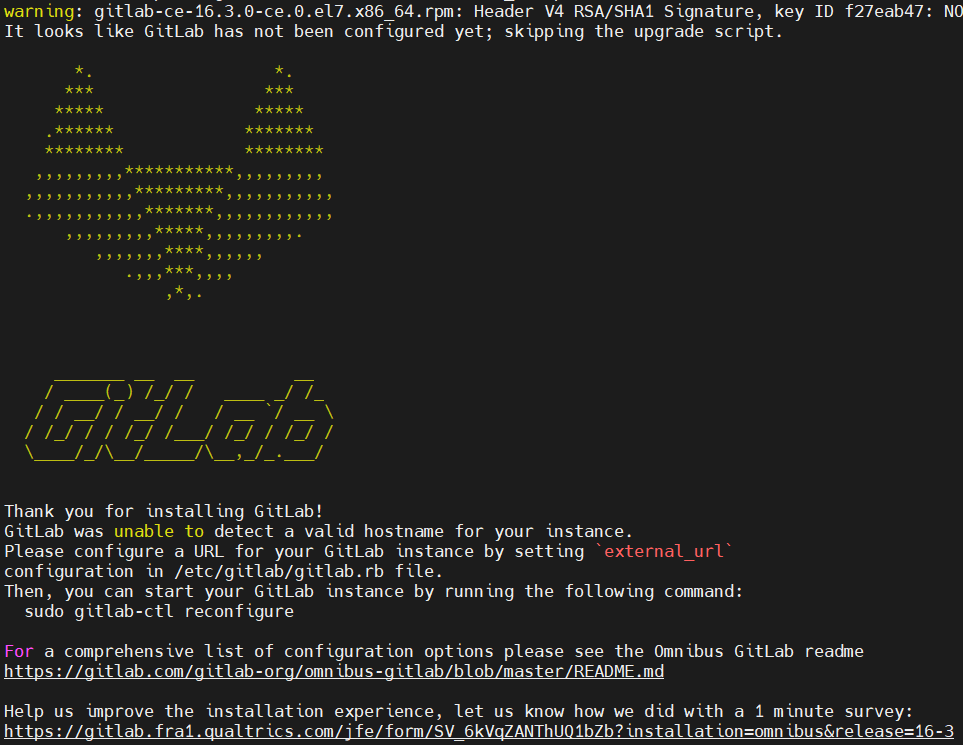
配置gitlab(这步还是比较关键的,细心点)
shellvi  /etc/gitlab/gitlab.rb
# 找到配置项"external_url", 将external_url修改为自己的公网域名,我的是gitlab.odboy.cn
# -------- wq!保存退出 ----
external_url 'http://gitlab.odboy.cn'

# 配置linux主机,即gitlab服务所在的主机上的host(vi /etc/hosts)
vi /etc/hosts
# -------- wq!保存退出 ----
192.168.200.100 gitlab.odboy.cn

# 重新配置
gitlab-ctl reconfigure

# 重启
gitlab-ctl restart
frp下载
shell# github
https://github.com/fatedier/frp/releases/tag/v0.51.3

# 代理加速(其他架构的同理),https://ghfast.top/[github文件地址]
https://ghfast.top/https://github.com/fatedier/frp/releases/download/v0.51.3/frp_0.51.3_linux_amd64.tar.gz
frp配置
textfrp包需要提前上传到云服务器和本地的虚机上
frp服务端配置(frps.ini)
云服务器(139.220.160.31)需要安装nginx,同时需要拥有自己的域名(gitlab.odboy.cn)
text[common]
# 监听地址,默认0.0.0.0就行
bind_addr = 0.0.0.0
# frps与frpc交互用的端口,记得打开防火墙,或者放行安全组
bind_port = 7000
# 设置token, 用于加密的token 可以使用强密码生成器(http://www.wetools.com/password-generator)生成一个64位强密码
token = 3dPE6m7uhYDa9IZ988pKVMs5rxBoft3Q2CRgTqenyWzv8OJ56i7N0c44GX0F4Ak1
# 日志路径
log_file = ./frps.log
# 日志级别:trace(追踪), debug(调试), info(信息), warn(警告), error(错误)
log_level = info
# 日志保存天数
log_max_days = 3
# 连接池数量,如果有很多链接最好弄高点,默认5
max_pool_count = 30
# HTTP协议
# 监听http协议的端口,可以与bind_port相同
vhost_http_port = 7010
# 监听https协议的端口,可以与bind_port相同
vhost_https_port = 7011
# http协议超时时间(秒)
vhost_http_timeout = 60
上传frp到云服务器上并配置,启动
shelltar -xvf frp_0.51.3_linux_amd64.tar.gz
cd frp_0.51.3_linux_amd64
vi frps.ini
nohup ./frps -c ./frps.ini > /dev/null 2>&1 &

frp客户端配置(frpc.ini)
text[common]
# 服务器的公网ip,网址也行
server_addr = 139.220.160.31
# frps与frpc交互用的端口,记得打开防火墙,或者放行安全组
server_port = 7000
# 设置token, 用于加密的token 可以使用强密码生成器(http://www.wetools.com/password-generator)生成一个64位强密码
token = 3dPE6m7uhYDa9IZ988pKVMs5rxBoft3Q2CRgTqenyWzv8OJ56i7N0c44GX0F4Ak1
# 日志路径
log_file = ./frpc.log
# 日志级别:trace(追踪), debug(调试), info(信息), warn(警告), error(错误)
log_level = info
# 日志保存天数
log_max_days = 3

[server-gitlab]
type = http
local_port = 80
# 本地做了host映射
custom_domains = gitlab.odboy.cn
上传frp到本地虚机上配置,启动
shelltar -xvf frp_0.51.3_linux_amd64.tar.gz
cd frp_0.51.3_linux_amd64
vi frpc.ini
nohup ./frpc -c ./frpc.ini > /dev/null 2>&1 &

配置域名解析、nginx等
域名解析到云服务器IP地址
textgitlab.odboy.cn A记录 139.220.160.31
云服务器nginx配置
textserver {
    listen 80;
    server_name gitlab.odboy.cn;
    location / {
        proxy_set_header   X-Real-IP $remote_addr;
        proxy_set_header   Host      $http_host;
        # 因为服务端配置了v_host_port = 7010, 该端口访问直接tcp到客户端的对应内网服务
        proxy_pass         http://127.0.0.1:7010;
    }
}
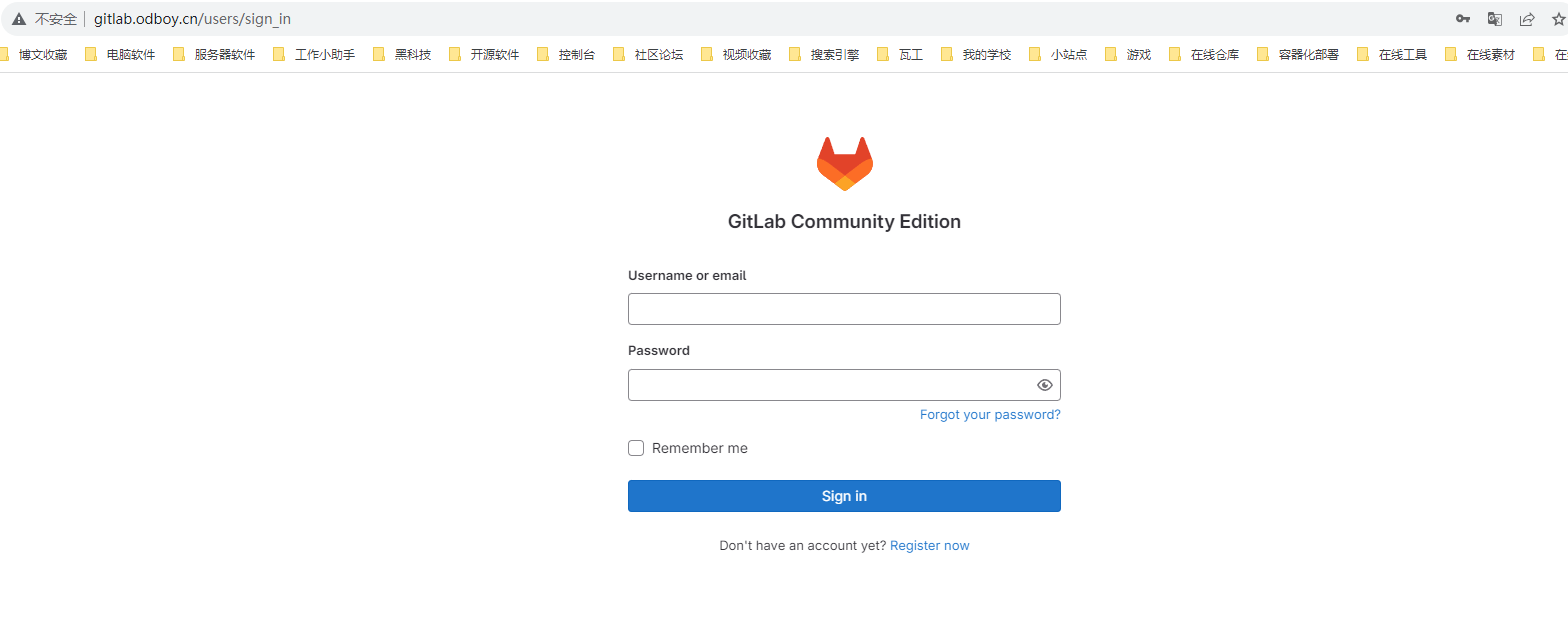
最终效果
登录页
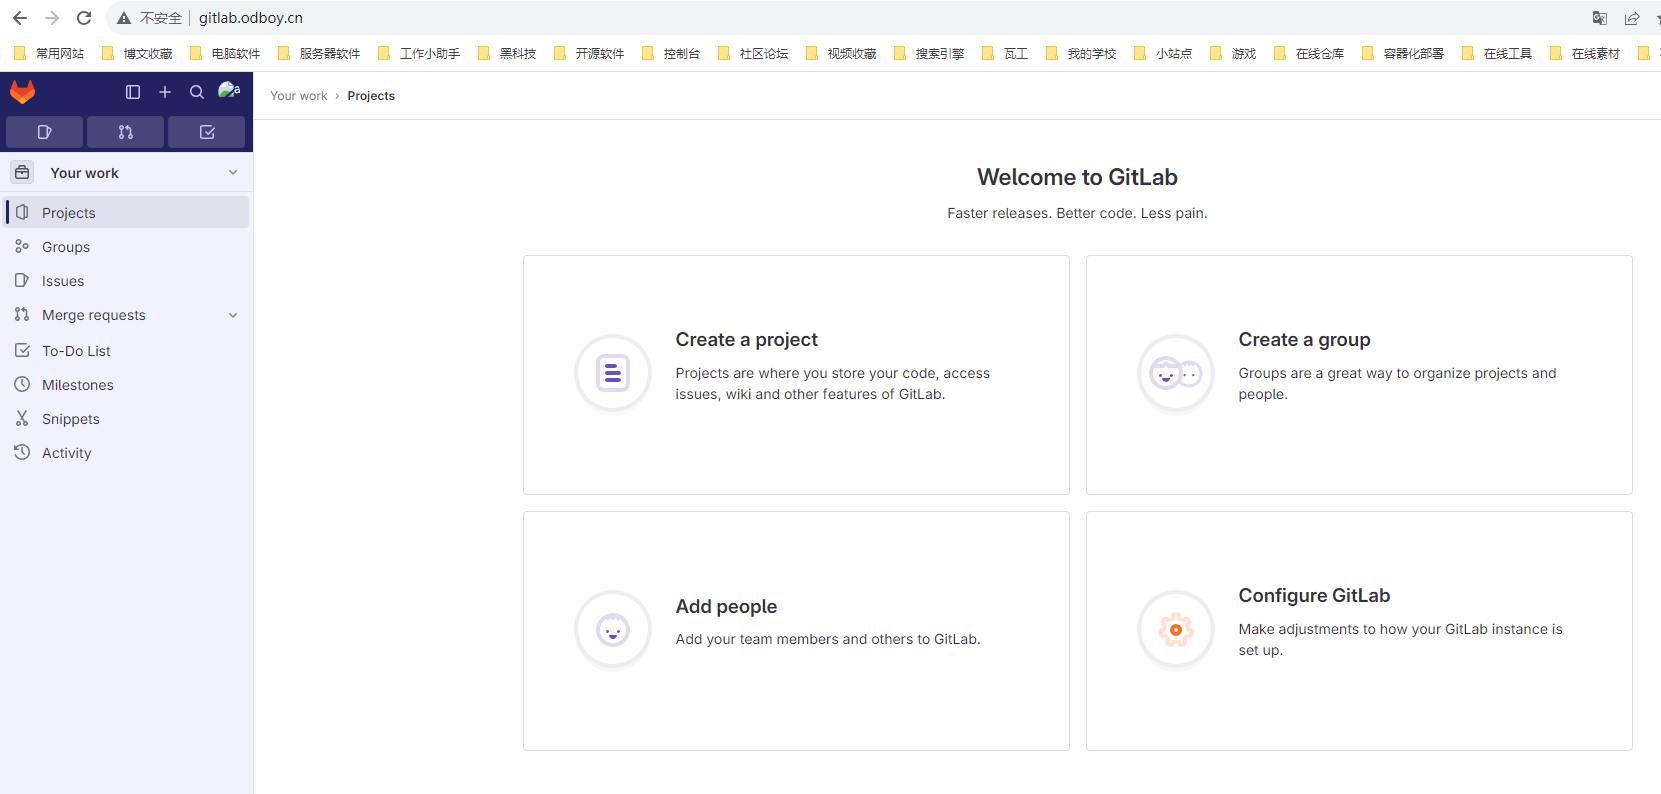
首页
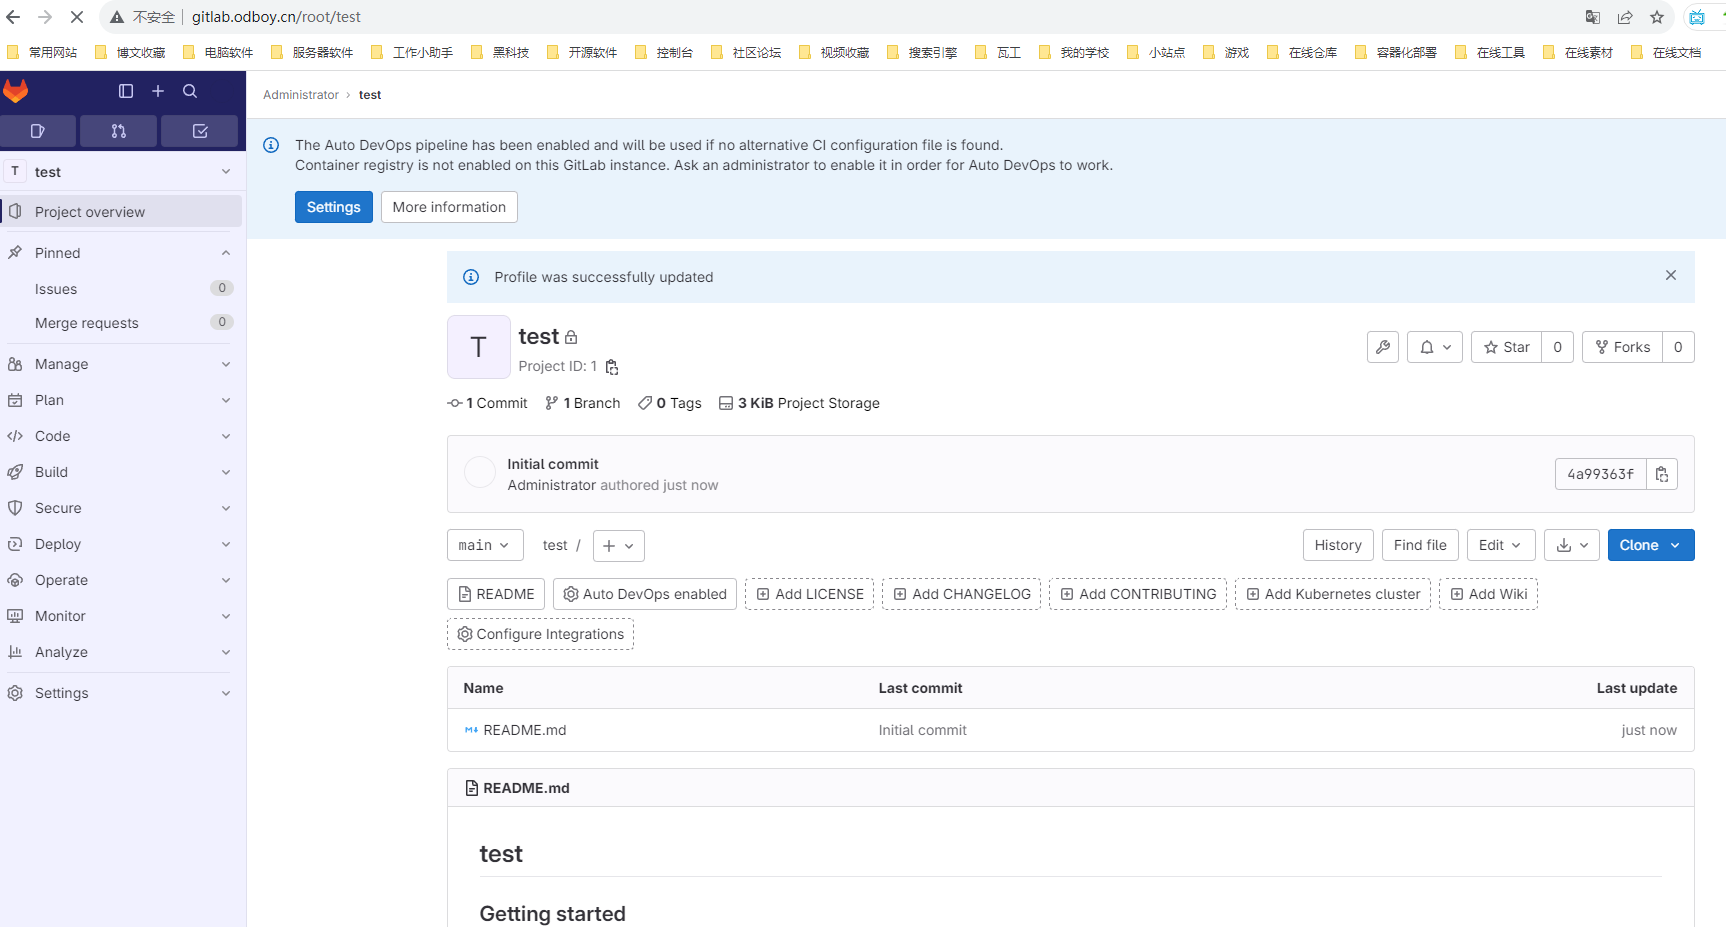
项目页
如果对你有用的话,可以打赏哦
打赏


本文作者:Odboy
本文链接:
版权声明:本博客所有文章除特别声明外,均采用 CC 4.0 BY-SA 许可协议。转载请注明出处!
目录